Goodbye Winter…Hello Spring!

penquin2

Image

Magazine Print Layout

ipad-magazine-mockup

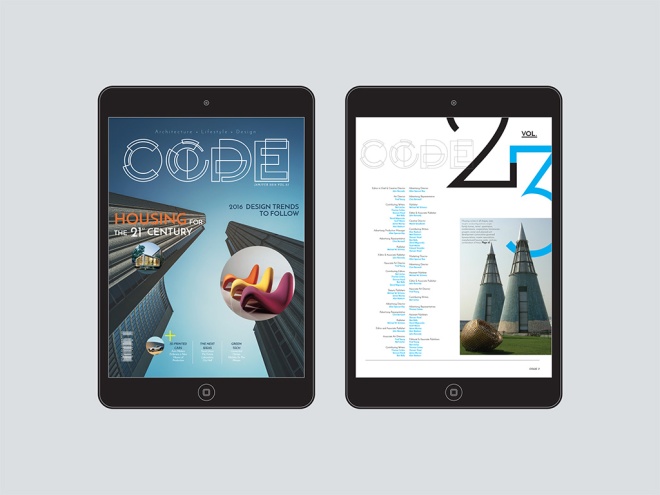
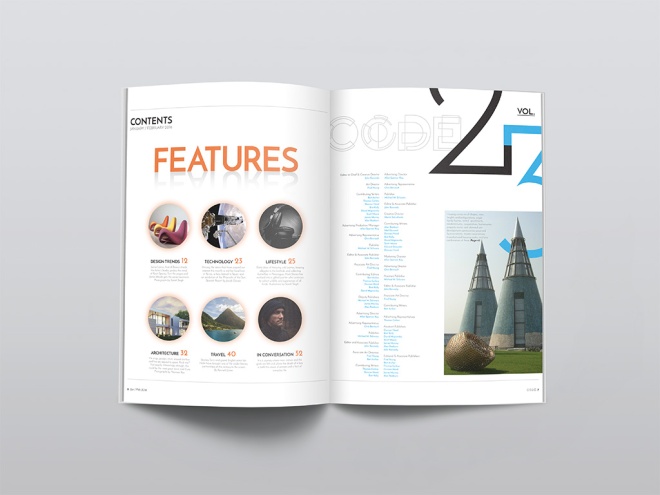
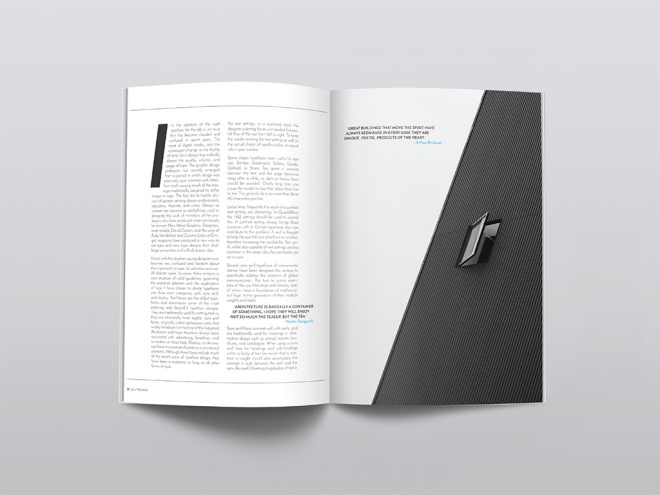
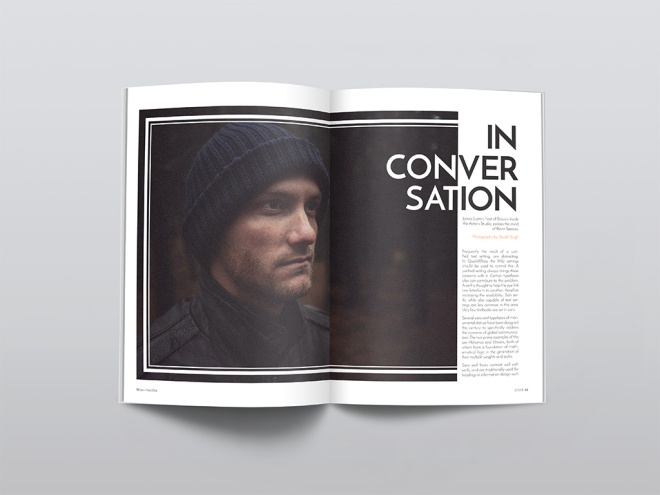
We were to create, name and design a magazine that fits into an existing category: fashion, music, design, men’s style, architecture, food, etc.  I started by creating a fun creative logo for the magazine, then I experimented with different typography choices to find the most suitable typeface for my audience.  Stock images were sourced that offer an architectual feel to the magazine, which also helped to design each page layout.  The light use of colour played a role as well, using complimentary colours throughout the magazine.  Page elements, styles, pull quotes and folios were also used in Indesign to achieve the overall design of my architecture magazine.

magazine-mockup1magazine-mockup2magazine-mockup3magazine-mockup4


Magazine Print Layout

Techinal Drawing #2

techincaldrawing_marek_handin2

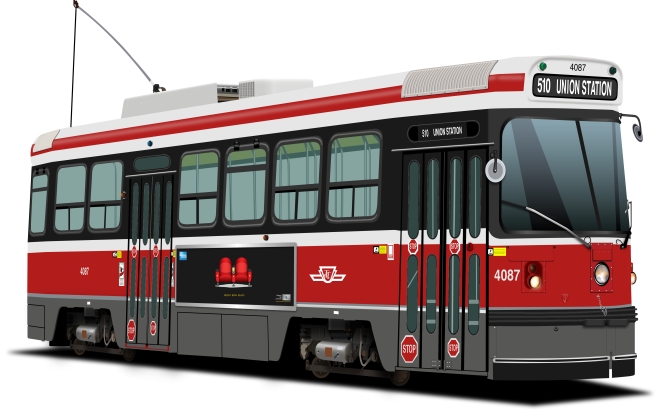
For my technical drawing I chose the very well-known, Toronto Streetcar. I really appreciate the toy-like quality the older streetcar has. I was outside and noticed them passing by, one after another and thought it would be a great subject for this project. I found a high res image online which served as the foundation for my drawing.
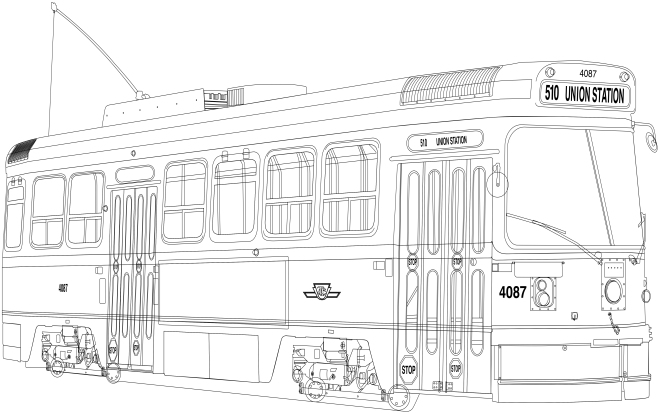
I began the outline process by tracing each element of the streetcar using tools such as the pen tool, the direct select tool, shapes and shape-builder tool, paths and patterns. The process took a little longer than expected but turned into a great learning opportunity. I improved my speed and became a lot more comfortable using the various tools which helped my confidence when it came to coloring and really, using Illustrator in general.

The traced image of the streetcar looked great but I was excited to see what it would look like after coloring. Some of the challenges and successes came from understanding gradient and gradient mesh tool, effects, outline mode, styles, drop shadows, layers and path finder. Organizing layers was not a strong focus during the outline process which made parts of the coloring process more difficult. In the future I am going to prioritize this as I can appreciate how much time I’ll save being more organized. In the end, I found the wheel system the most difficult part to recreate.

I think the overall image is convincing and represents the classic Toronto Streetcar well. Small details such as the streetcars route, the small stickers, the lights, the chrome detailing and the advertisement on the side (from my previous design project) help to bring it to life. This project has been a tremendously positive experience and I look forward to improving my Illustrator skills further.

Have a look at my process…

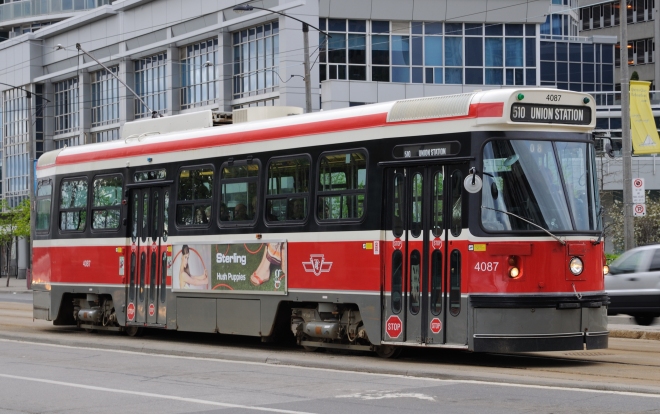
The original high resolution image sourced from the web.

techincaldrawing_marek_handin2

First step, create outline using various tools. ie; shape builder, pen tool etc.

techincaldrawing_marek_handin2

Step two, color! Using tools such as live paint, gradient, gradient mesh, effects, transparencies, shadows and textures.

techincaldrawing_marek_handin2

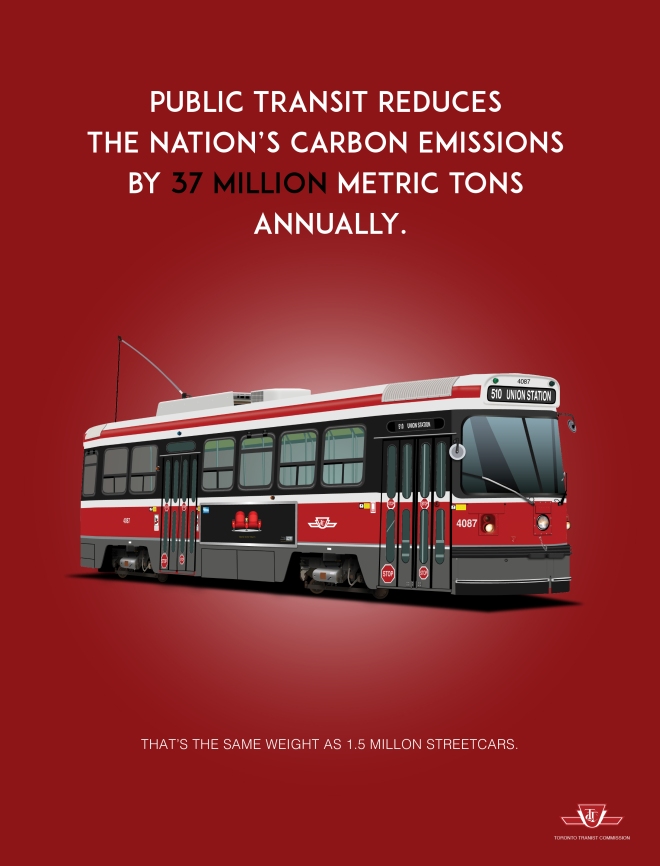
The final ad.

techincaldrawing_marek_handin


Techinal Drawing #2

What Is A Path? What Is An Anchor Point?

Pen_Tool_The_Exercise copy

Last week in Illustrator class we were introduced to the pen tool.  Personally, I only scratched the surface of Illustrator for a couple of my own designs projects and I’ll be honest, I don’t think I even used the proper tools for the job.  Somehow in the end I created some pretty awesome artwork that I was happy with.  I’m much more familiar with Adobe Photoshop from the many years of having to retouch models skin for magazine clients and model agencies, cleaning up dust and spots from endless products and designer clothing.

When I decided to take this program I was super excited that I’d be leaning how to properly use software such as Adobe Illustrator and Adobe Indesign.  Software that I’ve been in dire need of learning to further my success as an artist in this constantly changing digital world.  I figured that understanding Photoshop would give me a “one up” on Illustrator and Indesgin and even though the software interface is pretty much the same across all three programs, some tools and structures are somewhat different.  I’m very glad to be coming into it as inexperienced as I am because I have a fresh outlook on the programs and I feel there will be plenty to learn.  I’m even grasping new techniques in my Photoshop class!  Who Knew?

Below is a short breakdown of what a path and anchor point are.  I’ve also added a very cool keyboard cheat sheet for Illustrator that I found online. Feel free to save it to your desktop.

What is a Path?

A path is the black line that appears when you draw a line in Adobe Illustrator. A path is made up of  “anchor points” and line segments between these points. The anchor points on either end of a path have “control handles” and these can be used to control the direction of the curved path.

There are three main types of paths:

1) Open Paths – This is a simple line with two end points.

2) Closed Paths – A closed shape no end points. Ex: rectangle, circle etc.

3) Compound Paths – Two or more open or closed paths.

What is an anchor point?

As mentioned above, each path is made up of a series of anchor points that are connected by line segments. Each anchor point has control handles and control handle lines. The control handles are small squares on the path that allow you to control how tightly or loosely you can bend the curve at each of them. Control handles are tangent lines that allow you to control the direction of the path bend.

There are two main types of anchor points:

1) Smooth points – A smooth point is made up of two linked control handles and help prevent the path from changing the direction abruptly.

2) Corner Points – A corner point helps the path change direction. There are three different types of corner anchor points:

a) Straight corner point – The point where two straight lines meet at an angle is called a straight corner point and do not have any control handles. For example the corners of a rectangle.

b) Curved corner point – The point where two curved lines meet at an angle is called a curved corner point and it has two corner handles. For example the top dip of a heart shape.

c) Combination corner point – The point where a straight corner point and a curved corner point meet is called a combination corner point and it has one control handle which controls the curved line.

pen_tool_made_simple_2012_08_19

2560x1440

What Is A Path? What Is An Anchor Point?